Storage problem

Mac storage full: recover 20–60 GB fast, without deleting what matters

A full Mac slows down, refuses updates, and starts crashing. This guide identifies the 7 categories that consume the most space and walks you through recovering 20–60 GB — without touching any files you actually need.

What's actually eating your storage

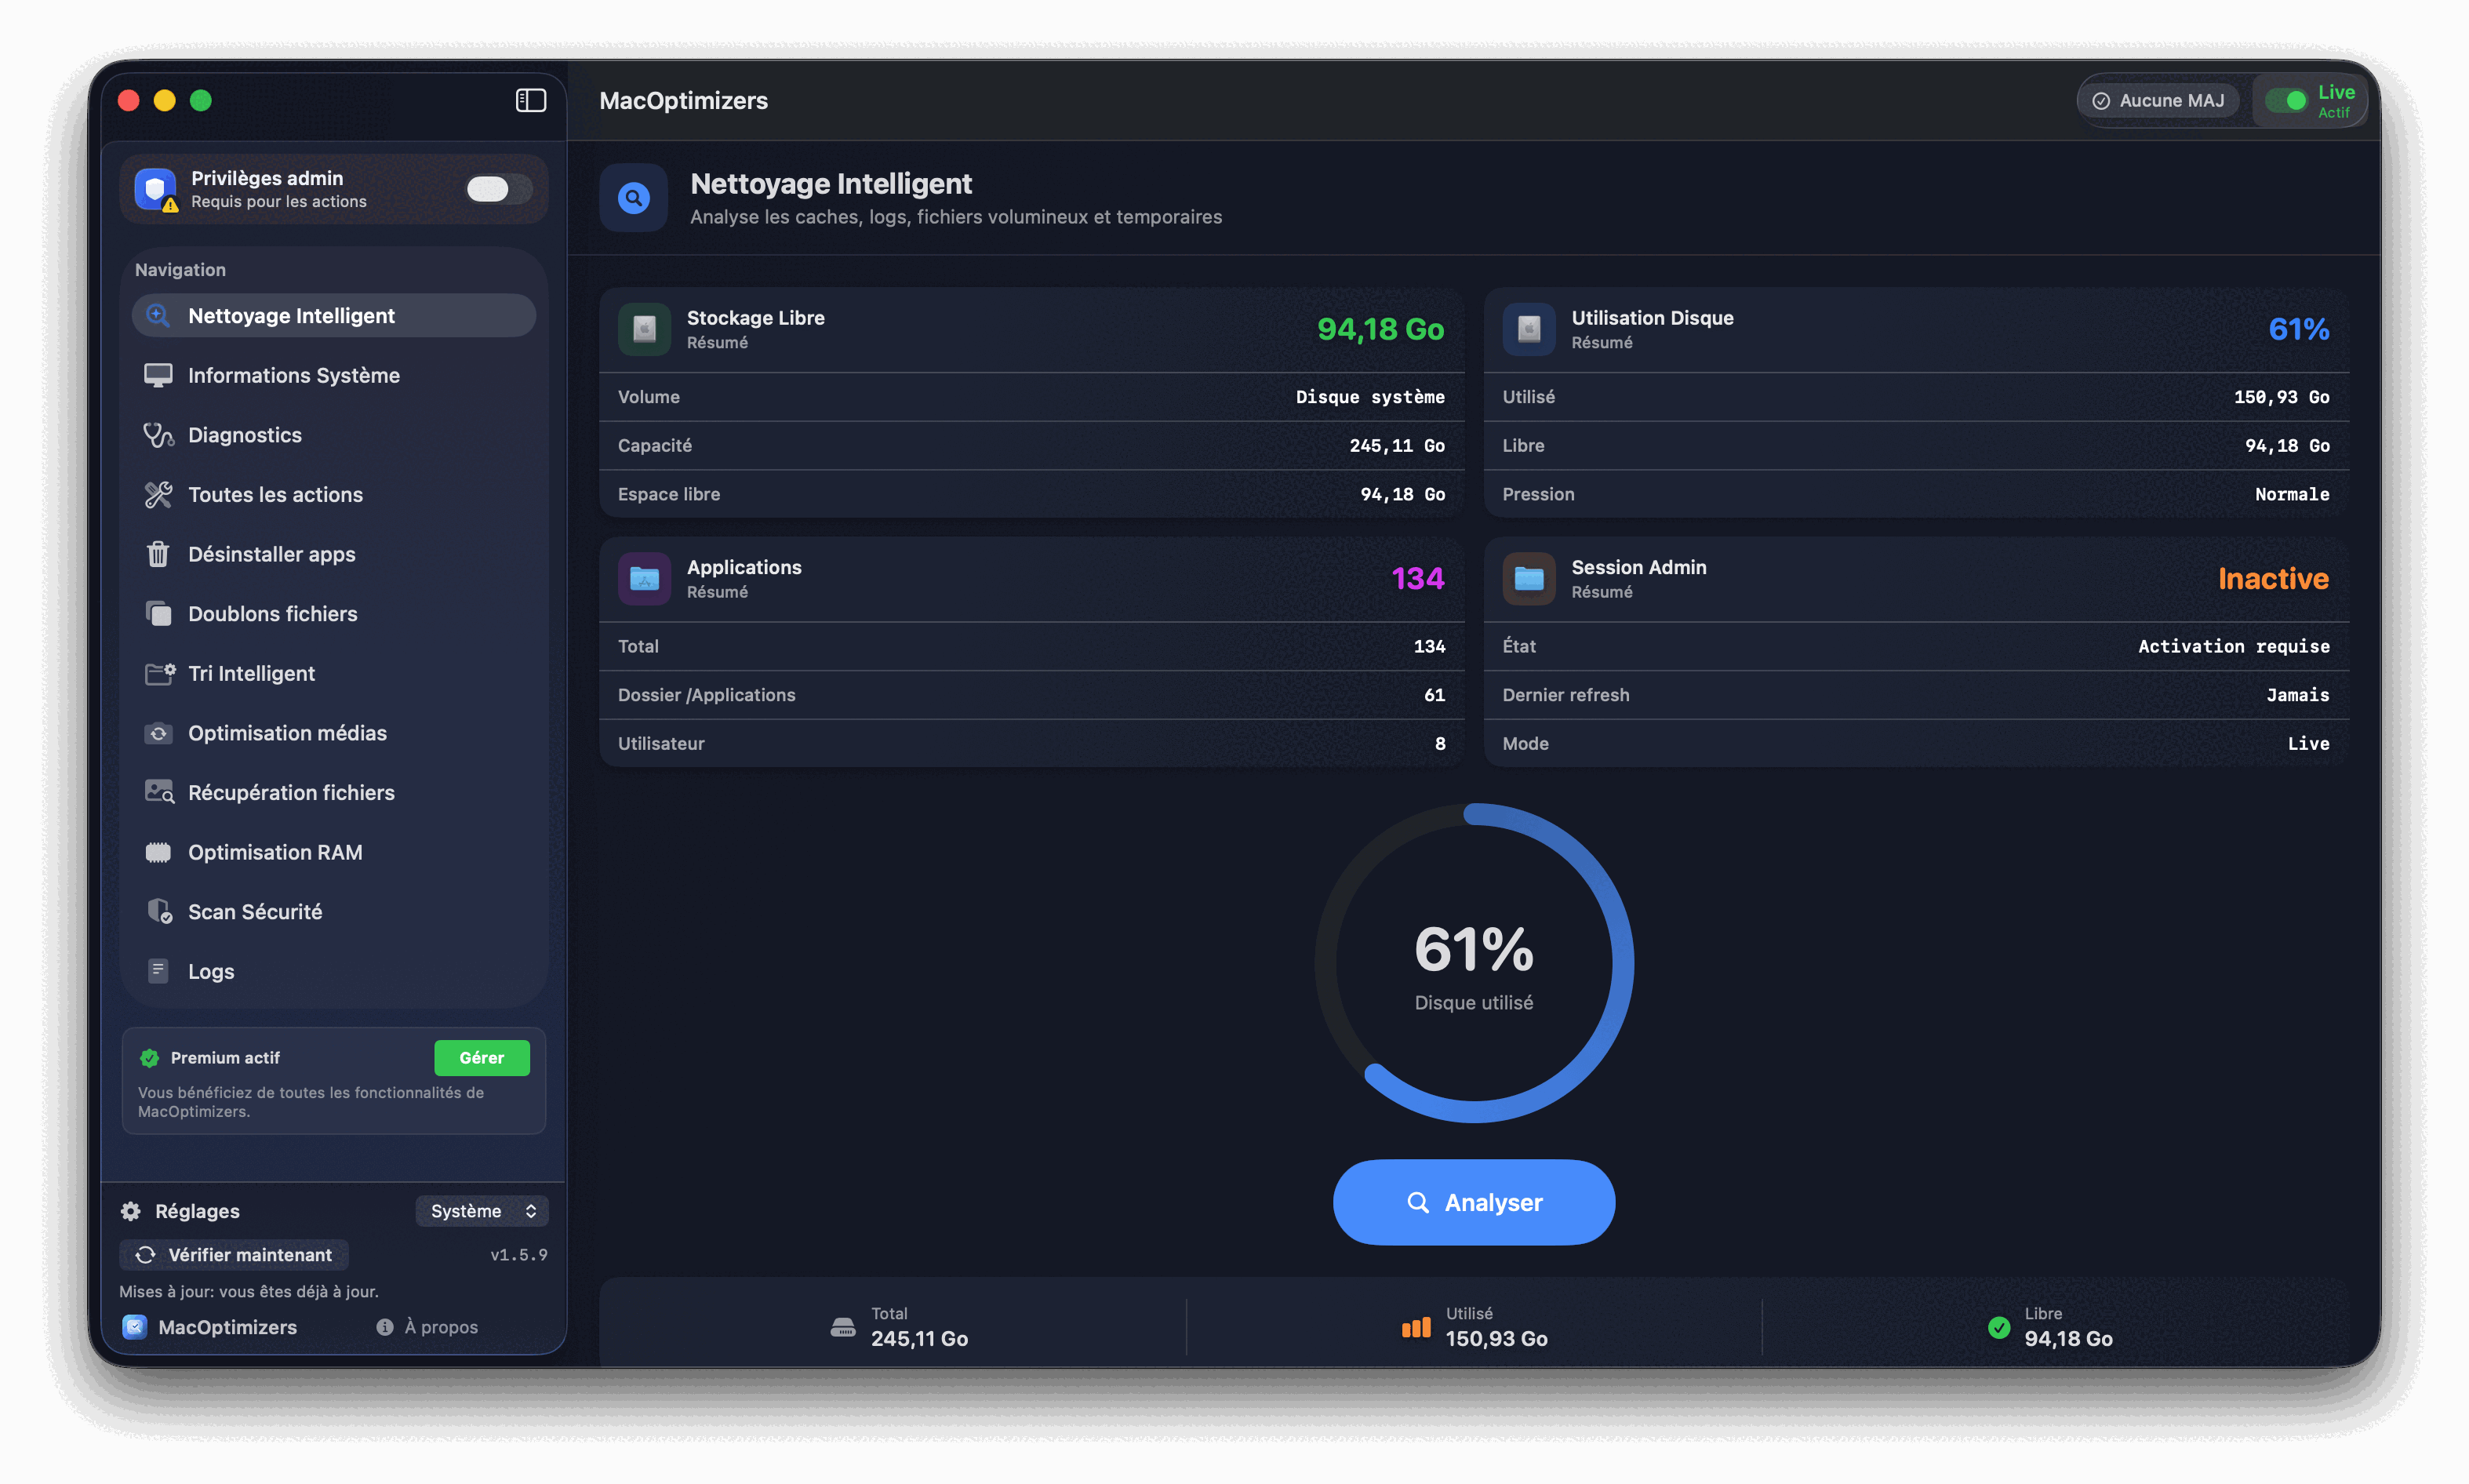
The storage bar in macOS (Apple menu > About This Mac > Storage) is notoriously misleading. "System" can display 40, 60, even 80 GB when macOS itself weighs roughly 15 GB. Here's the breakdown of what's really in there:

  • APFS Time Machine snapshots (5–50 GB): macOS saves local timestamped copies of your files, completely invisible in Finder. They release automatically when you need space — but sometimes that's not fast enough.
  • App caches — user and system (3–15 GB): every app writes caches to ~/Library/Caches and /Library/Caches. They rebuild after deletion — completely safe to remove.
  • App residues from old uninstalls (2–10 GB): dragging an app to the Trash leaves its data scattered across ~/Library/Application Support, ~/Library/Containers, and ~/Library/Preferences. macOS never cleans these up on its own.
  • Large orphaned files (10–30 GB): .dmg installers in Downloads, Xcode DerivedData folders, old iPhone/iPad Finder backups, movies already watched. These are the biggest wins with the least risk.
  • Duplicate files (5–15 GB): documents, photos, and videos that have been copied between folders or backed up multiple times without anyone realizing.
  • The Downloads folder (2–8 GB): almost nobody cleans this regularly. It fills up with .zip, .pdf, .dmg, and .pkg files that served their purpose long ago.
  • System and app logs (1–5 GB): ~/Library/Logs and /var/log accumulate indefinitely on some setups, especially after crashes or failed updates.

Priority order: fastest gains first

Work through these in order — from the quickest and safest to the most manual:

  • 1. Trash + browser caches — instant, zero risk. Always start here.
  • 2. Large orphaned files — high payoff, check each one before deleting.
  • 3. App residues — use a proper uninstaller, not manual ~/Library digging.
  • 4. System caches and logs — rebuilt automatically, no danger at all.
  • 5. Duplicate documents and photos — variable gain, needs a scan.
  • 6. Downloads folder — manual sort to keep anything still relevant.
  • 7. Archive to external or iCloud — for files you want to keep but don't need locally.
Mac storage cleanup with MacOptimizers

7-step action plan

  1. Step 1 — Measure actual free space
    Apple menu > About This Mac > Storage. Let the bar load fully. If "System" exceeds 30 GB, your biggest recoverable space is likely APFS snapshots — not personal files.
  2. Step 2 — Empty Trash and clear browser caches
    Cmd+Shift+Delete for the Trash. Safari > Develop > Empty Caches (you may need to enable Develop in Safari Settings first). Chrome > Settings > Privacy > Clear browsing data. Typical gain: 1–5 GB immediately.
  3. Step 3 — Hunt down large forgotten files
    MacOptimizers scans all files over 100 MB and lists them by size with last-access date. Focus on: .dmg files in ~/Downloads (anything you've already installed), Xcode DerivedData at ~/Library/Developer/Xcode/DerivedData (often 5–20 GB), iPhone backups at ~/Library/Application Support/MobileSync/Backup/, and large video files. Potential gain: 10–30 GB.
  4. Step 4 — Remove app residues properly
    Every time you deleted an app by dragging it to Trash, its data stayed behind. MacOptimizers' uninstaller identifies all associated files across ~/Library and removes everything in one pass. See the complete uninstall guide for details.
  5. Step 5 — Clear system and user caches
    MacOptimizers identifies the heaviest cache folders. The main offenders: Spotify (often 2–5 GB), Xcode Simulator device images (can exceed 10 GB), Chrome, and cloud sync agents. All caches regenerate on next use — no data at risk.
  6. Step 6 — Run a duplicate scan
    The scanner finds identical files using content signatures, not just filenames. Even skipping photos entirely, duplicate documents and downloads often add up to 3–8 GB. The duplicate removal guide covers the process in detail.
  7. Step 7 — Archive what you want to keep
    Project archives, old client work, vacation videos — copy them to an external drive or iCloud Drive before deleting from the internal SSD. You keep everything; your SSD gets the breathing room it needs.

Why a full disk slows down your Mac

This isn't just about running out of space — a full SSD actively hurts macOS performance:

  • Virtual memory (swap): when RAM runs out, macOS writes to the SSD. With no free space, it can't — the system hangs or crashes instead.
  • APFS snapshots: the file system needs free space to create new snapshots and manage Time Machine. Without it, certain file operations fail silently.
  • App performance: intensive apps (Xcode, Final Cut Pro, Lightroom) need scratch space for their operations. A full drive causes crashes and massive slowdowns in these tools.
  • macOS updates: a typical macOS update needs 12–20 GB of free space. Below that threshold, the installation simply won't start.

Practical rule: keep at least 15% free on your SSD. That's ~38 GB on a 256 GB drive, ~75 GB on a 512 GB drive.

FAQ — Mac storage full

How much free space should a Mac always have?

At minimum 15%. Below 10%, macOS struggles with swap, snapshots, and basic operations. On 256 GB, that's ~40 GB; on 512 GB, ~75 GB.

Why is it still full after deleting files?

Two common causes: the Trash is still full (Cmd+Shift+Delete), and APFS snapshots are holding space that releases slowly. Empty the Trash first, then wait a few minutes.

What's actually in the "System" category?

macOS itself (~15 GB), APFS local Time Machine snapshots (20–50 GB), swap files, and temp files. The snapshots are the biggest surprise — they're invisible in Finder but can be removed with tmutil deletelocalsnapshots / in Terminal.

Does macOS manage storage automatically?

Partially. macOS offers Storage Recommendations (About > Storage > Manage) but they don't cover app residues, duplicate files, or large forgotten files in ~/Library. You need a dedicated scanner for those.

How much can I realistically recover?

20–40 GB on a Mac used 2+ years. Macs with Xcode often recover 30–80 GB from DerivedData alone. Large photo libraries with duplicates can yield 10–20 GB just from deduplication.

Should I delete photos to free space?

Not first. Start with caches, logs, residues, and large forgotten files — those are all safe and give fast results. Only consider photos after everything else, and start with duplicates, not originals.

Related guides

Uninstall apps on Mac

Remove apps and all their leftover files in one pass.

Read

Remove duplicate files

Find identical files by content, not just name.

Read

Free macOS cleanup

Complete step-by-step cleanup without a subscription.

Read

Mac diagnostics

Audit CPU, RAM, disk and network before you start.

Read